
How to improve the sound quality of your music video
Have you ever noticed how your music sounds awesome after mastering but the music video sound quality isn’t that great? If you haven’t paid any attention to it, I recommend to make a simple test. Focus and compare the mastered WAV file to the music video side by side.
Once I started bumping into this phenomenon I decided to make a comparison to see if the audio quality is reduced on the video and how much. So let’s investigate together how to improve the sound quality of your music video.
How to improve the sound quality of your music video
Wouldn’t it be great if your fans could enjoy your music video with great sound quality? Nearly all musicians along with recording, mixing and mastering engineers are willing to do almost anything to keep their sound quality as high as possible. Yet, often the attention ends to the mastering process leaving the possible video sound quality loss unnoticed.
As I like to compare things to find out the factors that can affect the sound quality, I now want to share with you some of my observations. They have to do with the audio sample rate and the video making process. I hope this writing will help you to improve the sound quality of your music videos.
iMovie vs Final Cut Pro
In this blog post we will compare the audio of music videos that are made using both iMovie and Final Cut Pro. The songs used on the comparison are by two separate artists. I recorded and mixed them both to RTM SM900 magnetic tape. The mix was transferred from tape to computer as 96 kHz 24 bit stereo WAV file. I used the same sound file on both video editing softwares.
We will compare the possible sound differences using YouTube videos. Our focus is on the video editing software and its settings to see if they affect the result.
I made the videos using a MacBook Air with iMovie version 10.1.12 and Final Cut Pro version 10.4.6. This is as home-made as it gets as that is how most bands nowadays make their videos. You’ll get iMovie already installed when buying an Apple computer. If you buy a used Mac that doesn’t have iMovie you can buy it cheap from AppStore.
iMovie
iMovie is basically free and easy to use. During the years I have made several videos with it and sometimes wondered if it affects the sound quality. Now is the time to find it out.
I transferred a song from tape to computer using different sample rates and made a video from each of them using iMovie. After exporting the videos they all sounded alike regardless of the original audio file sample rate. The sound quality of the video made using iMovie seems to be unaffected whether you use 44.1 kHz to 96 kHz original audio file.
The internet tells you that the iMovie export settings do not affect the audio. So I tested all possible combinations with the iMovie export settings and didn’t notice any difference in the sound quality. As the iMovie export settings do not seem to affect the sound quality, so I ended up using the following export settings:
- Format: Video and Audio
- Resolution: 1080p
- Quality: Low
- Compress: Faster
Final Cut Pro
This popular software is a more expensive and many professionals seem to rely on it. Did you know that there’s a free 30 day trial available? You can easily get the trial version and try the comparison yourself. The export settings have a lot to choose from so I ended up using the following:
- Format: Video and Audio
- Video codec: Apple ProRes 422
- Audio file format: AAC
- 1920 x 1080 | 30fps Stereo (L R) 96 kHz
Mimi Jo Wave Band – Leaving the Front Row
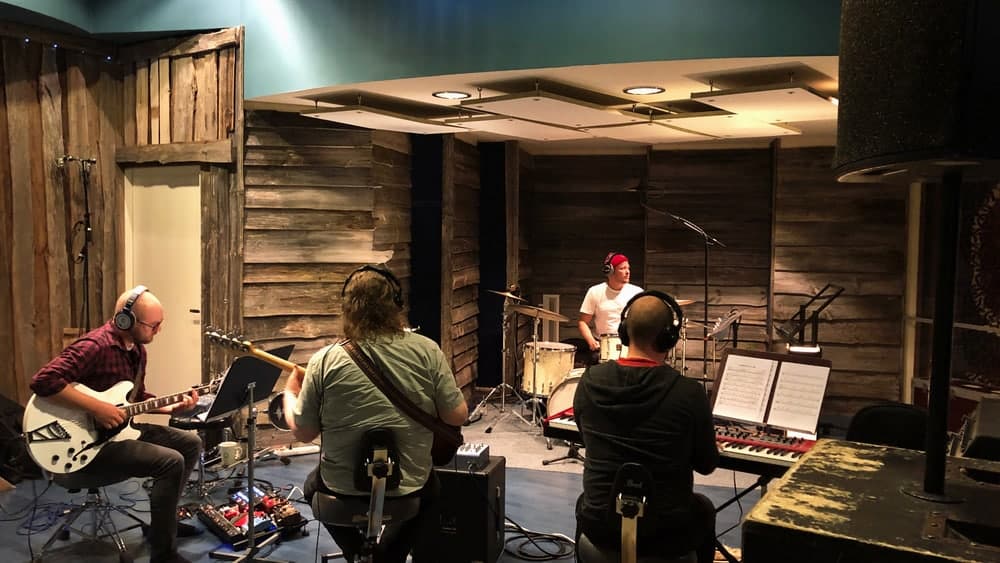
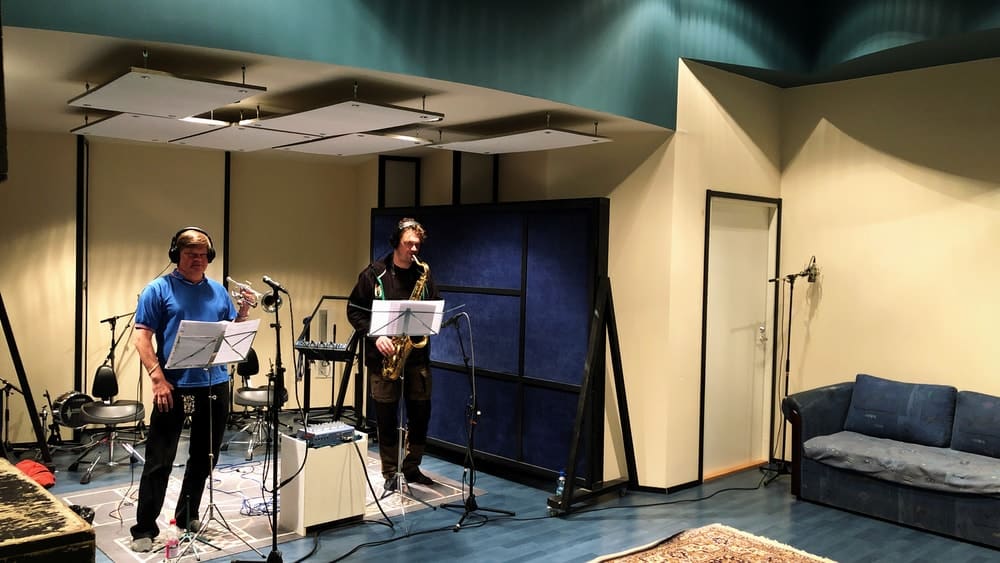
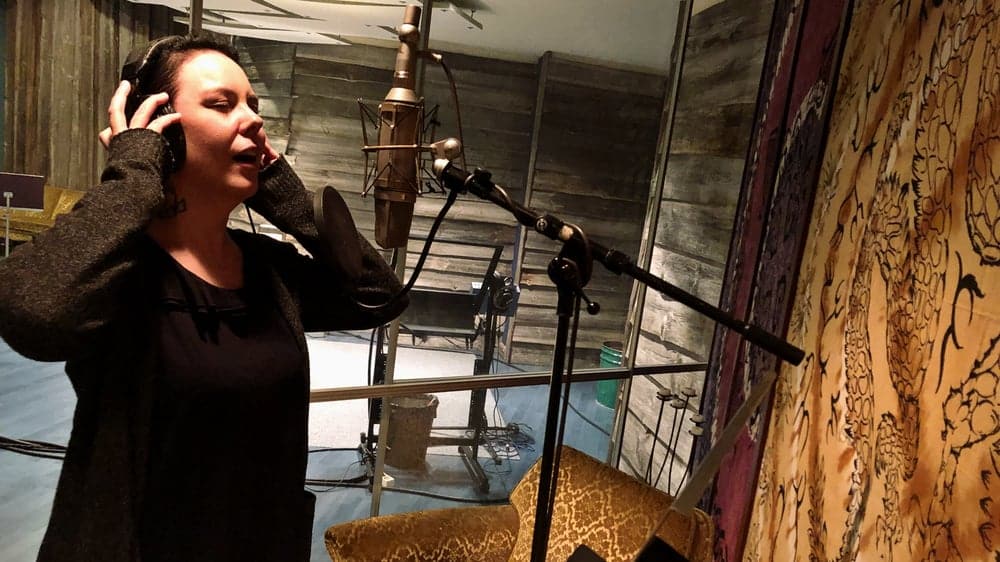
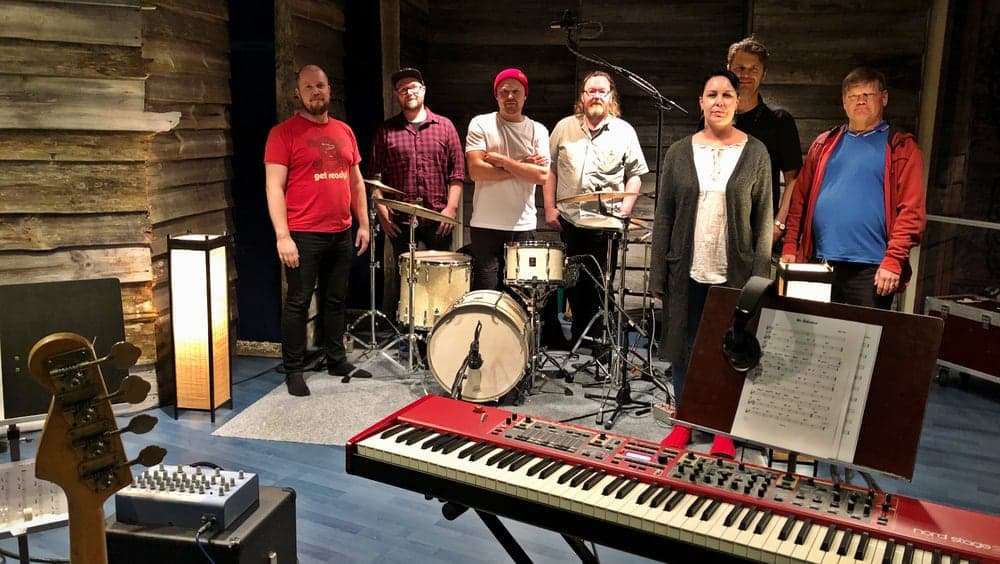
Last weekend I was honored to capture three songs from Mimi Jo Wave Band on magnetic tape. We recorded drums, bass, guitar, keyboards, saxophone, trumpet and demo vocals live. I placed the band instruments into the studio A live room, the brass section to studio B and the vocalist to the studio A vocal booth. This way we could eliminate the bleed and easily do overdubs if needed.
The band had session musicians and they’d never played these songs together. They tweaked the arrangement with few play thru’s and once all the details were fixed we captured the delightful joy of a live band. Metronome was tested on one song, but as it wouldn’t fit the style we ended up ditching the click. Organic and natural was the way also when it came to the tempo.
The strings quartet is on two of the songs. The highly skilled musicians played with excellent accuracy, emotion and especally in perfect pitch. Very rarely have I gotten a chance to wittness such a great sounding strings quartet! The first song took two and the second was nailed on the first take. Professionalism at its best.
On the evening we captured the lead vocals for two songs along with some backing vocals. The morning started with tambourine that was nailed on the first take and we then completed the remaining vocals. The rest of the day was used for mixing and by evening all three songs were mastered as well.
When listening the videos below please set the video quality to HD. I do not recommend using Bluetooth. Please use a cable when connecting the computer to your stereo system. The same applies for headphones.
Final Cut Pro – Mimi Jo Wave Band
iMovie – Mimi Jo Wave Band
Mimi Jo Wave Band music video sound analysis
After listening the two videos from stereo speakers, laptop speakers and headphones here are my observations. The iMovie version sounds more dark. You can hear it by concentrating on the brightness of the cymbals and the general lack of high frequencies. If you compare the videos by listening two bars at time, you’ll notice how the iMovie version seems to lose the ghost notes on snare. The Final Cut Pro version has more detailed snare ghost notes. The difference is in small details and on brightness of the sound. To me it sounds like the vocals are more in tune on the Final Cut Pro version while the iMovie video sounded more detuned.
Nelli Lepola – God Is a Woman (Ariana Grande cover)
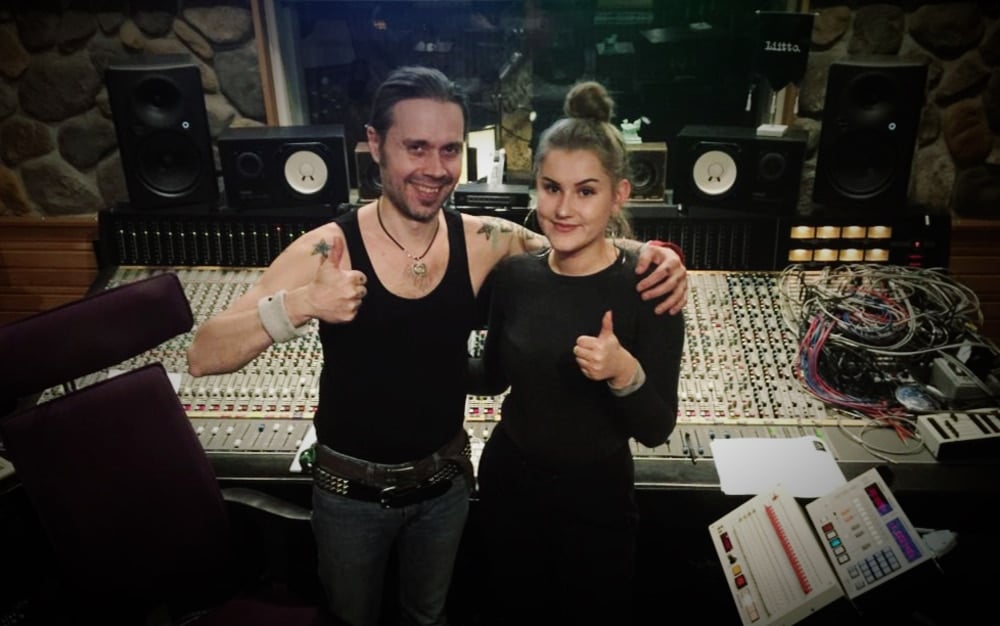
Last December I was honored to capture a 16 year-old Nelli Lepola singing Ariana Grande’s song God Is a Woman. We captured live on one take her vocals, Make Perttilä on acoustic guitar and Hannu Lepola on shaker. The only overdub was the 2nd guitar that Make played to make the chorus bigger. The session was done in two hours including recording, mixing and mastering.
At the beginning of the session I suggested that we’d tune the guitar to 432 Hz. According to my personal experience the music both sounds and feels more harmonic and pleasant compared to the traditional tuning. As none of the musicians were suffering from perfect pitch, my suggestion was approved.
Along with acoustic music I have recorded a cappella, hip hop and rap for example using this tuning. They too sound more appealing not only to me but also to the artists. I highly recommend you too to try out the 432 Hz tuning.
But let’s go back to Nelli’s acoustic performance to check if both videos have identical audio tracks.
Final Cut Pro – Nelli Lepola
iMovie – Nelli Lepola
Nelli Lepola music video sound analysis
By what I am hearing this example has the same elements as it was with the Mimi Jo Wave Band. The audio track of the Final Cut Pro video seems more bright and all the small details are more vivid. On iMovie version the acoustic guitar is more dark and for example the attack seems to diminish. On the Final Cut Pro version not only the acoustic guitar but also the shaker are bit more bright and with more attack.
Strangely I feel that on both examples the vocals sound uneasy and more detuned on the iMovie version. On the Final Cut Pro version it sounds to me that the vocal track is more closer to the original performance and more accurately in pitch.
Can you hear the difference in audio between the versions? Please leave your thoughts below this post. There are no right or wrong answers. My comments are based on what I hear.
Sample rate and why it is important
I chose 96 kHz 24 bit as the audio format for this demonstration as it sounded more bright compared to 44.1 kHz. You can test it by recording your song using 96 kHz sample rate. Please do remember that if you record as 44.1 kHz and later convert it to 96 kHz it does not improve the sound quality. The file size gets larger but the quality itself isn’t getting any better.
Back when I was recording on computer I did most sessions using 44.1 kHz sample rate. Now that I record on tape only I started comparing how to get the mixes transferred to computer with loosing as little as possible. At the moment I use 96 kHz, yet I will keep on testing and keep you updated as soon as something interesting comes up.
I hope this blog post will inspire you to compare the mastered sound file to your video audio tracks. I recommend listening two bars from each with full focus. If you can spot the difference, see if you can find out which software was used to make the video and what was the original audio file format. I’m sure you too want your video to sound as good as how it was when you accepted it to be on your album.
The music video sound quality and why it is important
The sole purpose of this writing is to find out how you can keep your music video audio quality as high as possible. It’s something you should definitely pay attention to. When it comes to sound quality I recommend Final Cut Pro over iMovie. According to my test the better the audio quality you upload to YouTube, the more all the small nuances will be present. It also helps to keep your audio track less dark and the vocals more natural.
Thank you very much for both reading and listening my music video sound quality comparison. If this post was informative, please share it on social media. This way you will help your friends to benefit from the information.
I cannot wait to reply your questions and comments so please do leave them below. Improve the quality of your music and reserve a full analog tape recording session with me at Astia-studio by clicking here. Thank you very much and all the very best!
Astia-studio is a full analog recording studio located in eastern Finland with 25 years of experience. Bands and artists from all over the world including USA and the furthest corner of Russia, Vladivostok have arrived to us for tape recording sessions.
