Improve The Tuning Of Your Guitar, pt 3 – Precision Tuning Tip
As a guitarist you surely must know how hard tuning a guitar can get. But what to do when the tuner says your guitar is in tune, yet the ear disagrees? With this series I hope to help you with tuning-related issues, as I share my studio and live experience from the past quarter of a century. So let’s improve the tuning of your guitar, part 3 – Precision tuning tip.
Guitarists, recording engineers and bass players will benefit from reading this blog post. You will learn to fine-tune the tuning of your instrument making both the playing and recording much more enjoyable.
Improve The Tuning Of Your Guitar, part 3
– Precision Tuning Tip
In the first part of this series you learnt how using tuners from different manufacturers may result in detune. If you haven’t read it yet, please click the link below:
Improve The Tuning Of Your Guitar, pt 1 – The Tuner May Cause Issues
The previous part explained how much the plucking level affects both the pitch and tuning. Please read it before continuing by clicking this link:
Improve The Tuning Of Your Guitar, pt 2 – How To Pluck The Strings When Tuning
By reading this 3rd part you will learn to tune your guitar more accurately compared to tuning with a meter only. Welcome to precision tuning tip.
Never rely on a tuner only
Do you know the feeling where you tune your guitar using a tuner and once you start playing it sounds detuned? After bumping into the situation on every recording session I started tuning the guitar myself for every guitarist who visited my studio. After years of tuning various guitars day in and out I finally found the tuning method that works. And I now will share it with you.
Even today I teach this tip to the guitarists who I work with and it guarantees an excellent tuning every single time. Along with that you should also regularly clean the strings using the method described on The Coolest Tuning Tip Ever pt. 1 blog post. Without cleaning the precision tuning tip wouldn’t necessarily work as the dirt that’s stuck underneath the strings is almost impossible to beat.
A tuner is a great tool, but you shouldn’t trust it blindly. There are times when the guitar sounds pretty good when tuned using only a tuner, yet sometimes only the three thickest strings are in tune. When it comes to sound and pitch you should always trust your ear. The tuner tells you when each string is individually in tune, but it doesn’t show whether the chords sound great or badly detuned.
Check the tuning first with a meter and then using your ear
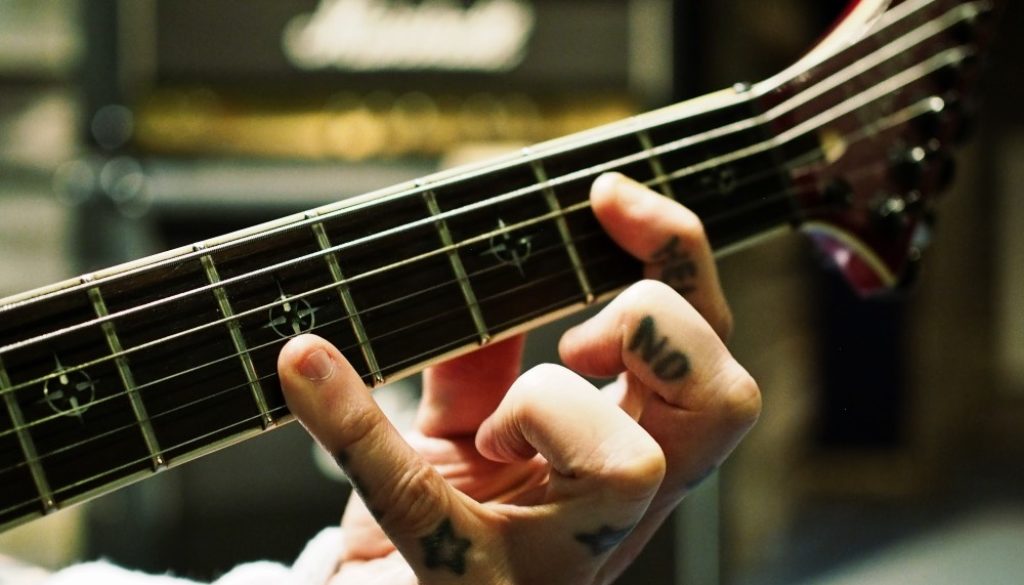
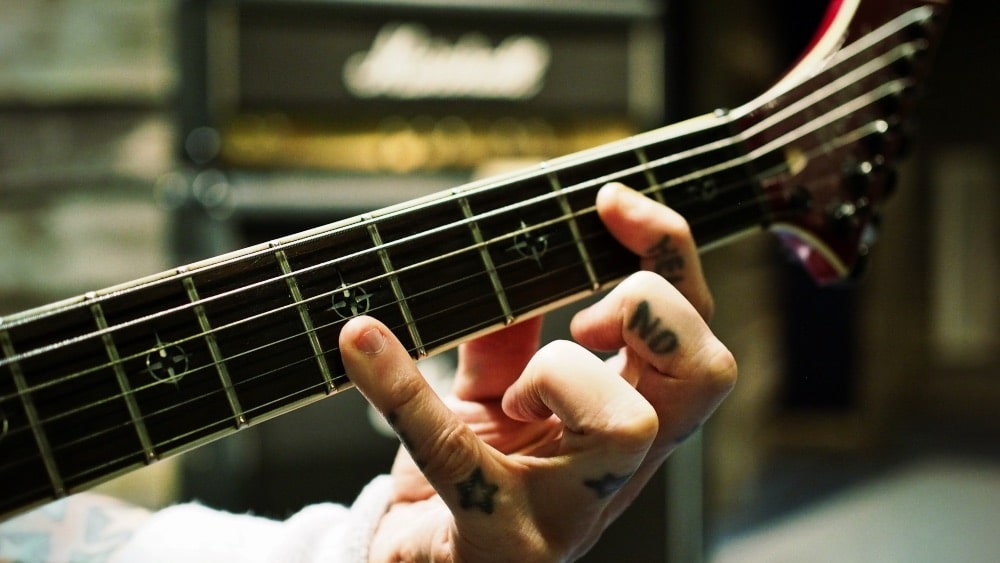
Sometimes it’s a good idea to check the tuning using the chords of the song you are about to start recording. Yet, I’ve noticed that you’ll get better results by using power chords on multiple strings. Once you complete the tuning using a tuner I recommend you to re-check using open chords and your ear. Start with the open position, then from the 5th and 7th fret.
Some prefer checking with clean sound aka without distortion. I tend to get the job done better when using distortion as with the distorted sound the wobbling is easier to spot. You will find which suits you the best by trying my method using both the clean and distorted sound.
Precision tuning
Start by playing an E5 chord that has open low E and the 2nd fret from A string. If your guitar is adjusted right and you used a quality tuner correctly the chord should sound clean without any detune.
Next add the 2nd fret from D string to have the upper octave for the chord. Pluck the three strings and if everything is done right they should sound nicely in tune. Then again it’s not rare for the 2nd fret chords to need slight tuning. That’s usually a sign that the adjustments are not 100 % correct.
Now it’s time for the challenging G string as we change the chord from E5 to A5 with added low 5th. Play open low E, open A, the 2nd fret from D and the 2nd fret from G string. If your guitar isn’t willing to comply skip the G string and tune it the last.
Keep the A5 chord and add your pinky to press the 5th fret on the two highest strings. First add only the B string to the chord and if the tuning isn’t right, adjust until it sounds clean. Then add the high E string and tune if needed.
If the chord isn’t clean enough and you are not sure which string is causing the detune, leave one string out and play the chord until you spot which string is causing the detune. Repeat the method until all strings are perfectly in tune and the chord isn’t wobbling.
Next repeat the procedure from the 5th fret, yet when moving on to B string leave the low E out. You should do so unless you have more than 5 fingers… Even though it is possible to obtain the full chord from this position using acrobatics, I do not recommend it.
You can check the tuning from the 7th and 9th fret too to make sure every chord position sounds clean. If your guitar is adjusted correctly and you press the strings even enough, you can play these big chords on any fret and the tuning is always spot on.
How to use precision tuning tip:
- Tune using a meter until each string is in tune.
- Use the distortion channel of your amp and check the tuning with chords without the tuner.
- Play the open low E and the 2nd fret from A string aka chord E5.
- If it sounds good add upper octave from the 2nd fret from D string.
- When the chord sounds clean, switch to A5 and play the open low E, open A, the 2nd fret from D and add the 2nd fret from G string.
- Once the tuning of the four lowest strings is good, add the 5th fret of B string.
- When all five strings sound good, add the 5th fret from high E string.
- Repeat no: 3–7 while playing the chords from the 5th and 7th fret.
Please note that once you’ll run out of fingers you can leave the lowest strings out. If you find tuning the G string challenging, skip it and leave it as the last as sometimes it’s easier this way.
Use precision tuning every time you tune
You should first tune using a tuner and then always finalize the tuning using the precision tuning tip. I use it every time I tune a guitar and warmly recommend you to do so too. You should never blindly trust what the tuner shows as it doesn’t tell if the chords sound great or not. In the end you should always use your ear rather than a tuner and that’s where the precision tuning tip comes in.
Thank you for reading the 3rd part of my series about how to improve the tuning of your instrument. If this post was helpful, please share it on social media. This way you will help your friends to benefit from the information too.
To reserve an unforgettable full analog tape recording session with me at Astia-studio click here. Thank you very much and all the very best!
Read more of my guitar-related blog posts:
- How To Improve Guitar Sound pt. 1
- The Coolest Tuning Tip Ever pt. 1
- Avoid This Common Mistake When Recording Guitar
Astia-studio is a full analog recording studio located in eastern Finland with 25 years of experience. Bands and artists from all over the world including USA and the furthest corner of Russia, Vladivostok have arrived to us for tape recording sessions.
